Aussie Bites

img_2117

Mmmm Aussie Bites! I must confess these little bites are addicting. I make them in a mini muffin tin and I could easily gobble up 4 at a time, but I try to practice self discipline and limit myself to just 2 at a time. But, ya know, stuff happens and 2 ends up as 4 sometimes. I tell myself that these are healthy and it’s okay. #yolo right?!

So, here is a look at most of the ingredients. It seems like a lot, but these come together pretty fast.

img_2109

First thing you should know is that you need oat flour for this. But fear not! Oat flour is super easy to make with some oats and a food processor. It only takes a minute to process the oats into a flour. See, easy peasy oat flour in 1 minute flat.

img_2111

Now, for my Aussie Bites I kept some of the oat whole for texture purposes. I think it gives them an extra chew. It’s personal preference, feel free to blend all of the oats into a flour if you desire less chew from the oats.

img_2118

These are great for breakfast, or a snack, or dessert. Anytime really. I grab 2 on my way to work. Quick, easy and delish! This recipe will make about 18-24 mini muffins depending on how much batter per muffin you fill.

Ingredients

  • 1 3/4 Cup old fashioned rolled oats, divided
  • 1/4 Cup coconut sugar
  • 1/4 Cup dried apricots
  • 1/4 Cup raisins
  • 1/4 Cup ground flax seeds
  • 1/4 Cup unsalted sunflower seeds
  • 1/4 Cup unsweetened shredded coconut
  • 1/4 Cup quinoa, cooked
  • 2 T chia seeds
  • 1/4 tsp baking soda
  • 1/4 Cup honey
  • 1/4 Cup unsalted butter, melted
  • 1/4 Cup extra virgin olive oil
  • 1/2 tsp vanilla extract

Directions

  1. Pre-heat oven to 350 degrees. Line a 24 count mini muffin tin.
  2. Pour 1 Cup of oats into a food processor and process until you have a flour.
  3. Add in the coconut sugar, apricots, raisins, ground flax seeds, sunflower seeds, shredded coconut, quinoa, chia seeds and baking powder. Pulse in the food processor until well combined and the fruit is diced up into tiny bits.
  4. Add in the honey, melted butter, extra virgin olive oil, vanilla extract and remaining 3/4 cup of oats. Pulse again until everything is well combined.
  5. Spoon out the batter into your lined mini muffin tin and pack down batter into tin gently with back of spoon.
  6. Baked in pre-heated oven for 12mins or until golden.
  7. Once baked, place pan on a cooling rack and let cool. Enjoy!

Gluten Free AND Nut Free Pancakes

img_0567

OMG, it’s officially fall! I’m so excited for sweater weather, cozy sips, fuzzy socks and all the fall flavors! I don’t even know where to start. Apple cobbler? Pumpkin bread? Pecan pie? Hearty soups? Maple everything? Ok, ok….slooowwww down! We have 3 whole months to get our fall cooking/baking on.

So, let’s take a look at cassava flour. Have you tried it? I love it as a gluten AND nut free alternative to flour. I’ve used coconut flour several times and I always had a faint coconut taste and had to add tons of eggs and/or liquid to combat the dryness of the coconut. As a bummer with the coconut flour, no one in my house likes coconut. I would end up eating whatever it was by myself. Sometimes that’s a plus and other times I didn’t need to eat a whole pan of baked donuts! Cassava flour works well as an even 1:1 swap with regular wheat flour. As a bonus there’s no background flavor from the cassava.

I decided to test this out with the kids. My daughter is the pancake queen is our house, so I figure if she likes them, then they are a total winner! My son likes pancakes too, but he’s not the aficionado of pancakes like my daughter is. I made one batch with chocolate chips and one batch without. My son likes chocolate and my daughter loathes it. These kids make me work extra hard to combat their pickiness!

img_0584

These whipped up fast and easy. I used an electric griddle to make several at one time. I’m all about being time efficient! In order to make one plain batch and one batch with chocolate chips I simply made the batter as is and then poured half into another bowl and added the chocolate chips. Easy!

img_0585

I personally liked the chocolate chip pancakes better. Chocolate makes everything better in my opinion. These pancakes were fluffy and not dense and tasted like real pancakes! I have never made a gluten free AND nut free pancake before that tasted like regular pancakes. I was super excited!

As you may know by now, I try to stay away from refined sugar as much as possible. Now, usually I use pure maple syrup, but my kiddos don’t like it. They want the fake “pancake” syrup. I get it, it’s delish, but it’s basically a bottle of high fructose corn syrup… not my fave. So, I tried Lakanto sugar free maple syrup. A lot of people that follow a keto diet love this stuff as a natural sugar free option. This syrup is made from monk fruit which does not spike insulin levels like cane sugar would. My interest was piqued. To my surprise is was delish! If you like real, pure maple syrup then I think you will like this alternative maple syrup. I do not like the fake, chemical-y “sugar free” substitutes and refuse to use them. I love that I can use a natural sugar free alternative.

As for my kids, they don’t like pure maple syrup and the didn’t like this syrup either. Sigh. They opted to eat the pancakes plain – which I thought was kinda weird. But they said they were that good to grab and eat as little snack cakes. I consider that a win!

This recipe makes about 12 pancakes if you keep them around 4in-5in wide.

img_0586

Ingredients

  • 4 eggs
  • 1/4 Cup extra virgin olive oil
  • 3/4 Cup milk of choice (cow, almond or oat milk works fine)
  • 1/2 ripe banana
  • 1 Cup Cassava flour
  • 1/2 tsp salt
  • 1/2 tsp baking soda
  • 1/8 Cup chocolate chips*

Directions

  1. In a large bowl mix the dry ingredients
  2. Mix the eggs and banana in a food processor until well combined
  3. Mix the wet ingredients in with the dry ingredients until well incorporated
  4. *Split batter in half if making plain and chocolate chip pancakes
  5. *Fold in the chocolate chips if splitting the batter. If you want the entire batch to be chocolate chip then double the amount of chocolate chips from 1/8 cup to 1/4 cup.
  6. Let the batter rest for 5mins – while it rests pre-heat griddle or non stick skillet on medium heat
  7. Pour out batter into roughly 4in-5in wide disks on the pre heated griddle or skillet
  8. Once bubbles on top of pancakes stop bubbling/forming it’s time to flip. Continue cooking on other side until bottom is lightly golden.
  9. Top with your favorite toppings or eat plain as my kids do 😉

Quick and Easy Energy Bites

img_0621

How was everyone’s Labor Day holiday? I hope it was fun and/or relaxing. We didn’t do much this year. Had a typical day around the house, but made it a point to relax some and we grilled a little bit too. Also, decided to meal prep a bit for the work. I made a Thai curry soup with rice noodles. It was pretty good, but no one else ate it. I’m more of the soup person at our house. I love soups, even in summer! Only downside to me being the only soup person in the house is that I typically end up making way more than I will consume. I need to check into freezing some of my soups and see how they turn out.

My daughter also found a recipe on how to make brown sugar lemonade. So, she made that with little help from me. She was pretty amazed at how many lemons it actually takes to make lemonade. It was cute 🙂

I decided I needed to prep some snacks for work. These little energy bites are delish and easy to throw together. Also, you can easily customize them to your liking which I really dig. My son likes these a lot, but my daughter doesn’t like chocolate or coconut so these are on her “no” list. You could opt out of the chocolate drizzle, but I think it compliments these well. Perhaps I will try with a non-chocolate drizzle next time.

Also, if you want to make these vegan you can sub out the honey for agave or maple syrup and use Enjoy Life chocolate chips. Nut allergy? No prob! Sub out the nut butter for sunbutter. Easy peasy 😉

img_0620

Ingredients

  • 1 Cup old fashion oats
  • 1/2 Cup of nut butter (I used all natural peanut butter)
  • 2 T honey or (agave or pure maple syrup)
  • 2 T unsweetened shredded coconut flakes
  • 1 T chia seeds
  • 1/2 tsp vanilla extract

Drizzle:

  • 1/4 Cup dark chocolate chips (optional, for drizzle)

Directions

  1. In a medium sized bowl mix all of the ingredients together aside from the chocolate chips.
  2. Once everything is incorporated well take a 1 tablespoon sized cookie scoop and scoop out balls of the mixture. Use your hands to roll them into compacted balls and set aside of parchment or wax paper.
  3. Once you have all of the balls formed place them in the refrigerator to firm up. While they’re firming up take your chocolate chips and melt according to the directions on the bag until chocolate is smooth (I melted mine in the microwave).
  4. When the chocolate is all melted and smooth take you energy balls from the refrigerator and drizzle with a spoon the chocolate on top of the balls.
  5. Place the freshly drizzled balls back into the refrigerator for about 10-15mins to let the chocolate set. You can store these in the fridge or in an airtight container outside of the fridge. They taste great cold or at room temperature!


Pitaya Smoothie Bowl

img_0549

Ok, guys. I have tweaked my back again and have shooting nerve pain constantly shooting down my leg. Ugh! I spent my entire weekend nursing my back. It is a itty, tiny bit better…I think. Ironically standing and moving around isn’t the most painful. Sitting down is. Work today is going to be torture I’ve decided (corporate job, sitting all day – you get the jest).

Anyways, I decided to make an antioxidant rich smoothie bowl this weekend with pitaya aka: dragon fruit. I figure the more antioxidants and super-foods I can get into my body the faster my body will heal. Speaking of my back again, you’ll never guess how I tweaked it! I was bending over to put my shoes on and then I sneezed. That’s it, that’s all I did. Crazy, right?! Granted, I already have had a bad back for the past 7yrs or so, but seriously… Sneezing can cause a strained muscle, which in turn then causes inflammation and presses on my sciatic nerve causing all this crazy pain. So the moral of this story is treat your back right while it’s still good. Do your yoga and core exercises regularly and lift heavy objects with your knees, not your back.

Ok, so back to this smoothie bowl. It’s delish, packed with antioxidants and as a bonus it’s pretty! Smoothie bowls seem more like a treat to me than a smoothie. Maybe it’s because I’m eating it with a spoon and it reminds me of a frozen treat.


Ingredients

  • 1 Cup frozen mango
  • 1 frozen pitaya pouch
  • 1/4 Cup – 1/2 Cup boxed coconut milk (or milk of choice)
  • 1 T honey or sweetener of choice (optional)
  • Toppings of choice (bee pollen, coconut flakes, chia seeds, nuts, sliced fruit, etc.)

Directions

  1. Place everything in your blender and blend well. If the mixture seems too thick add a bit more milk. If you prefer it to be sweeter add a bit more sweetener, blend again and taste to see if it is to your liking.
  2. The mixture should be thick enough to spoon it, a bit thicker than what a smoothie would be. Scrape out the smoothie into a bowl.
  3. Add whatever toppings you like. I sprinkled a bit of bee pollen, unsweetened coconut flakes and chia seeds on top of mine. Get creative and enjoy!

Cookie Butter Cookies

img_1809

Ok guys, I’m still waiting on all things fall to get here. I’m seeing that the stores have Halloween, Thanksgiving AND some Christmas decorations out. I heard a rumor that Starbucks is bringing back their PSL at the end of August this year. So, technically it’s totally ok to act like it’s fall, right?! I’ll just pretend the weather is in the 70’s for now and that the leaves outside are turning pretty colors.

While I was out running around with my daughter this weekend she had the desire to bake something. Immediately I lit up. I’m thinking to myself: please want pumpkin bread, please want pumpkin bread! Instead she says, “sugar cookies!” My excitement quickly dwindled. Sugar cookies are good, but I want warm and cozy spices. Give me some nutmeg or ginger. So, I tossed out different flavor ideas. Cinnamon piqued her interest and I was sold on making cookies with cinnamon.

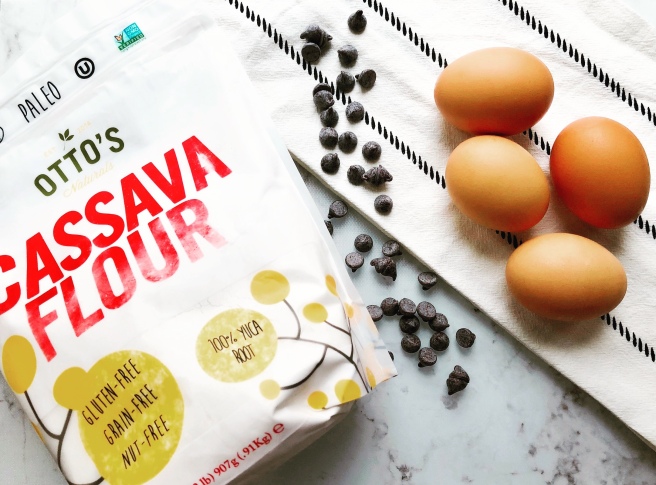
Now, I’m sure you’re thinking snickerdoodles. I was too! But still, that’s not the comforting and cozy flavor I was looking for. After we got back home from running errands I started grabbing ingredients. I don’t like using refined white sugar, so usually I will bake with a more natural sweetener. Maple syrup or honey are big faves of mine as well as coconut sugar. Occasionally I will use something else, but these are my mains.

I wanted a cookie that was fluffy, tender and almost melt in your mouth deliciousness. Something that screamed fall, but wasn’t the usual pumpkin or ginger flavors. I played around with the dough for a bit. Tweaking this and adding that. Admittedly about halfway into the dough process I thought this was going to be a flop because the dough was brown and I used ALL coconut sugar as my sweetener. I was afraid it might also turn out too dry. None the less I kept going and finished out my cookie dough.

img_1790

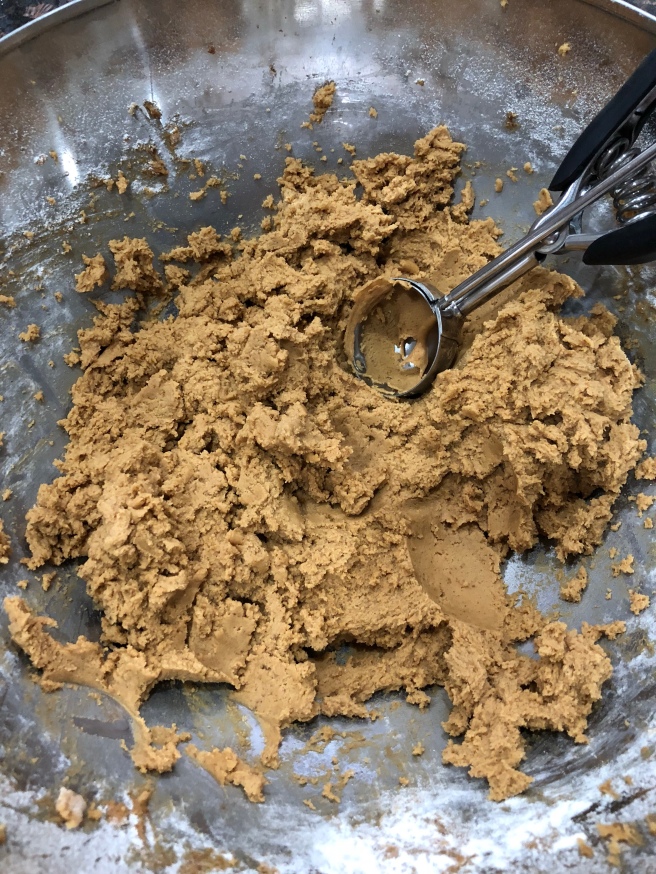
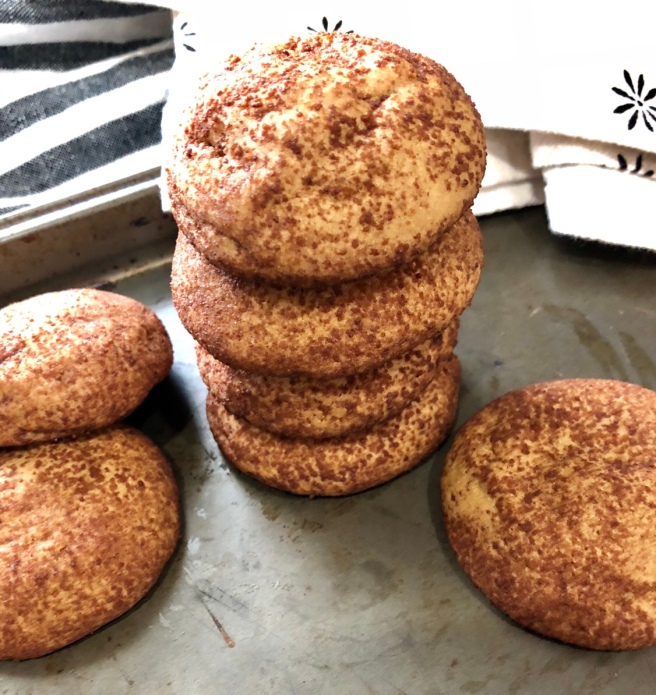
See, the dough isn’t the prettiest, BUT it ended up not being too dry. I crossed my fingers and hoped that they baked properly and became fluffy, tender, delicious cookies that tasted like fall.

img_1800

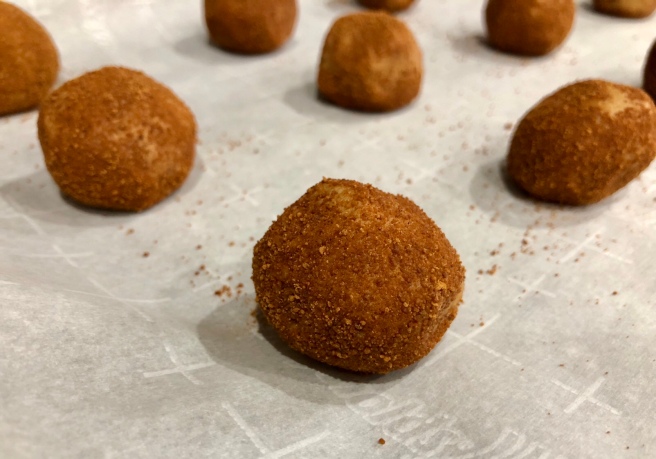
After the dough was ready to go I used a 1.5 tablespoon cookie scoop to scoop out the ball of dough. Then I handed the dough balls off to my daughter. She was in charge of making the balls round and rolling them in coconut sugar and cinnamon.

Next we popped them into the oven and hoped for the best. While they were in the oven I sneaked some of the leftover cookie dough to try it. OMG! It tasted just like cookie butter! I know, I know eating cookie dough poses a potential risk due to the raw egg in the dough. So, I do not recommend eating this dough. If you choose to eat this cookie dough, eat at your own risk. For me, the risk was totally worth it! Best cookie dough ever!

img_1803

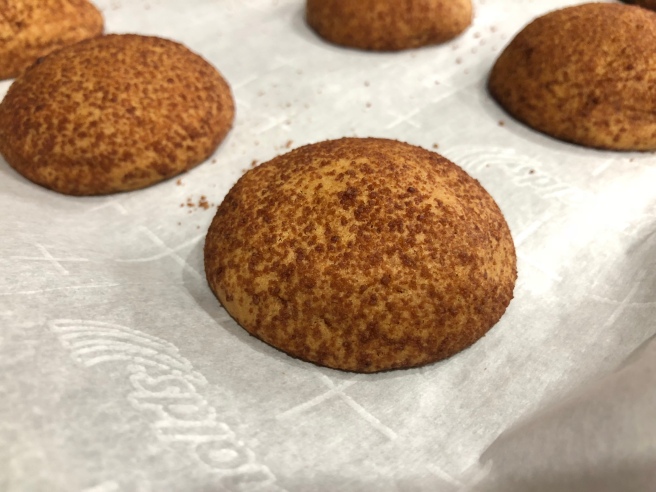
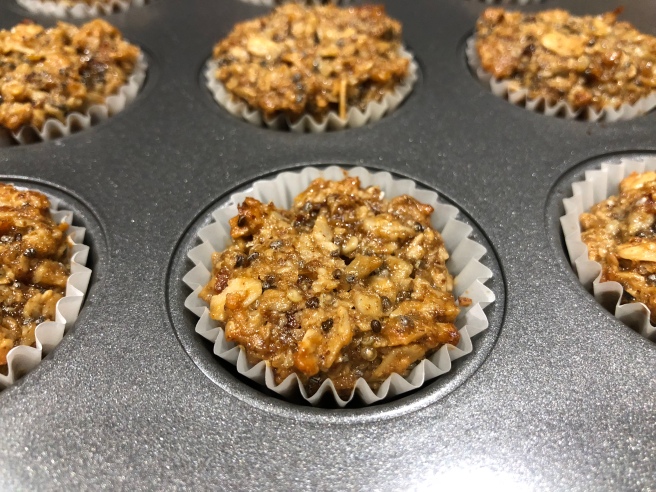
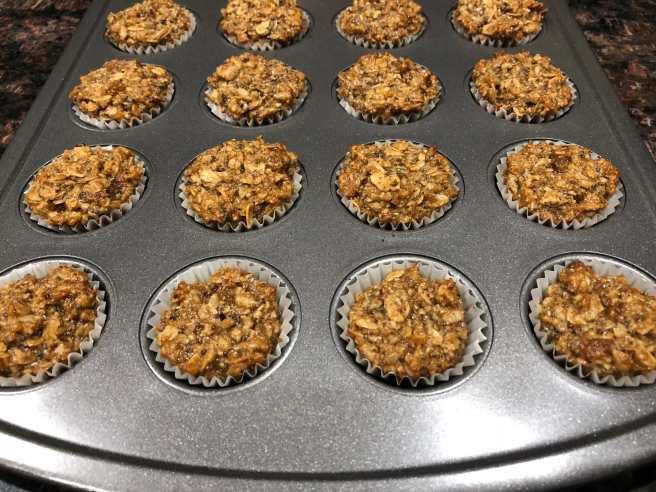
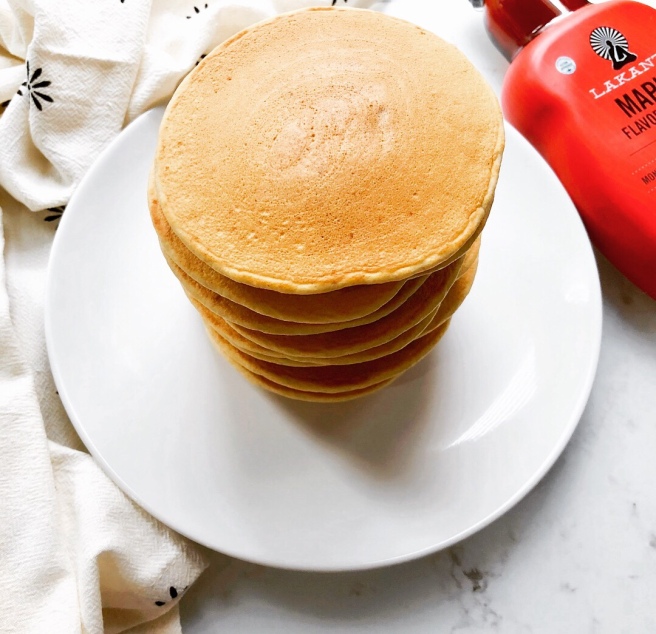
Luckily, the cookies baked up nicely. They’re fluffy and look like fall. Now it was time to taste test the finished product. Both of my kids were anxiously waiting for them to cool. Finally it was time. We each grabbed a cookie and took a bite. They were the perfect surprise! They were fluffy, tender and had that melt in your mouth crumb going on. The surprise part was the taste. I wasn’t sure what to expect. Especially with the dough tasting like cookie butter (definitely a pleasant surprise). Well, let me tell you. These cookies are amazing and I’ve never had a cookie taste quite like these. They taste like a cross between cookie butter and cinnamon sugar toast. Ya know, that buttery toast with lots of cinnamon and sugar sprinkled on top? But it’s a cookie, not toast, so it’s 10 times better in my opinion.

img_1816

The whole family loved these cookies. My daughter immediately tells me I need to write everything down and put it in the family cookbook. My son who is in his teen years and rarely shows any excitement for anything aside from football and video games said that “they’re pretty good”. He came back for another cookie and another and a another. For him to say that it must mean they’re amazing! For me, I got my cookie that tastes like fall and was fluffy and cozy. This was a definite winner and will be made again for sure.

If you try out this recipe, please let me know what you thing about it. Does it taste like cookie butter or cinnamon sugar toast to you? I’m very interested to see what others think 🙂 You can always comment on the post below or tag me on Instagram @undercovernoms so I can see your cookie photos. Check me out on Pinterest as well. There’s lots of lovely, yummy things I have pinned for you!

Ingredients

  • 1 Cup unsalted good quality butter, room temperature
  • 1 1/4 Cup coconut sugar
  • 1 egg, plus 1 yolk
  • 1 T vanilla extract
  • 1 tsp baking soda
  • 1 tsp cream of tartar
  • 1/2 tsp salt
  • 1 tsp ground cinnamon
  • 2 3/4 cup unbleached all purpose flour

Cinnamon Sugar Rolling Mixture:

Directions

  1. Preheat oven to 325°
  2. Line a baking sheet with parchment paper and set aside.
  3. In a large bowl add the butter and sugar and beat with a mixer until light and fluffy, about 3 minutes.
  4. Add in egg, yolk and vanilla extract and beat until well combined, about 1-2 minutes.
  5. Mix in baking soda, cream of tartar, salt and the 1 tsp cinnamon. Mix until combined.
  6. Add in flour, mixing until just combined.
  7. In a separate small bowl make your Cinnamon Sugar Rolling Mixture by mixing together the 1T of cinnamon and the 1/4 cup of coconut sugar, stir with fork until evenly combined.
  8. Using a 1.5 tablespoon cookie scoop, scoop out ball of dough and roll into a ball. Then roll each cookie dough ball into the Cinnamon Sugar mixture.
  9. Place on prepared baking sheet about 2 inches apart. Bake for 12 minutes on middle rack in oven, turning cookie sheet halfway through baking.
  10. The cookies will plump up and may not as if they’re done. Take out of oven and let rest. Once cooled they will be cooked through and perfect. Enjoy!

-This recipe makes about 21 cookies if using the 1.5 tablespoon cookie scoop. Please note if you make the cookies larger or smaller than I did you will need to adjust the baking times a bit.-

-Also, the quality of butter I believe plays a big part in this recipe. I used Kerrygold pure grass fed butter. Try to shoot for a good quality butter.-